Wildlife photography low light techniques help me keep images sharp and clean when the sun dips or the woods get thick. Low light is where many shots fall apart, but it is also where some of the best moments happen. With the right approach, I can hold detail, control noise, and capture behavior that most people never see.
If you are looking for a broader overview of how low light affects wildlife photography choices, I cover that in more detail in my low light wildlife photography guide.
Wildlife Photography Low Light Techniques for Cleaner ISO Management
Low light forces ISO higher, but I control how much noise shows up by how I expose the image. I shoot in manual exposure with Auto ISO. I set aperture and shutter speed first, then use exposure compensation to control brightness while the camera adjusts ISO.
I start by opening the aperture as wide as my lens allows. The fastest lens I shoot is f/7.1, so that is where I begin in low light. Opening the aperture lets in more light and helps the camera lock focus faster. From there, I watch the histogram and adjust exposure compensation until it looks healthy. When I say I let ISO rise, that happens through exposure compensation, not by manually dialing ISO.
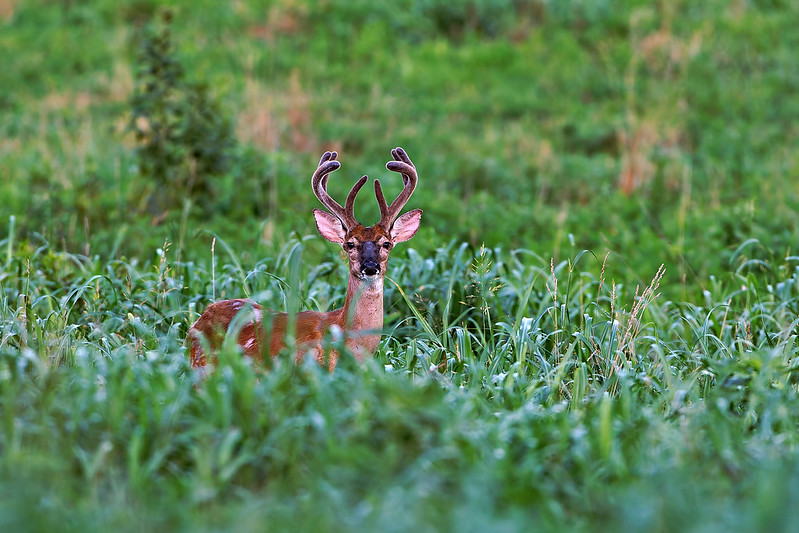
When I photograph whitetails at dawn, I often start around ISO 1600 and let it climb only when shutter speed drops too far. Modern full-frame sensors handle ISO 3200 to 6400 well when exposure is accurate. Underexposed high ISO files fall apart fast, so getting the exposure right matters more than the number on the screen.
Wildlife Photography Low Light Techniques for Stabilizing the Shot
Sharpness starts with stability. Low light forces slower shutter speeds, so how I support the camera matters. A monopod, bean bag, or bracing against a tree or truck window can save a shot.
Image stabilization helps by reducing camera shake, especially with still subjects. It gives me more margin, but it does not freeze a moving animal. If the subject moves, shutter speed still rules.
When the animal is calm, I can sometimes work at or below one over the focal length. I have photographed perched owls at 1/100 with a 500mm lens by bracing solidly. As soon as the subject starts to move, I raise shutter speed and accept higher ISO without hesitation.
Using Light Direction and Backgrounds in Low Light
Good low light images come from paying attention to the direction of the light that remains. Side light at sunrise or sunset adds shape and texture. Front light reduces noise because more of the subject is evenly lit.
Background choice matters just as much. A distant, darker background keeps clutter low and helps the subject stand out. If I can see texture along the shoulder, flank, or face, I know the light angle is working even when overall light levels are low.
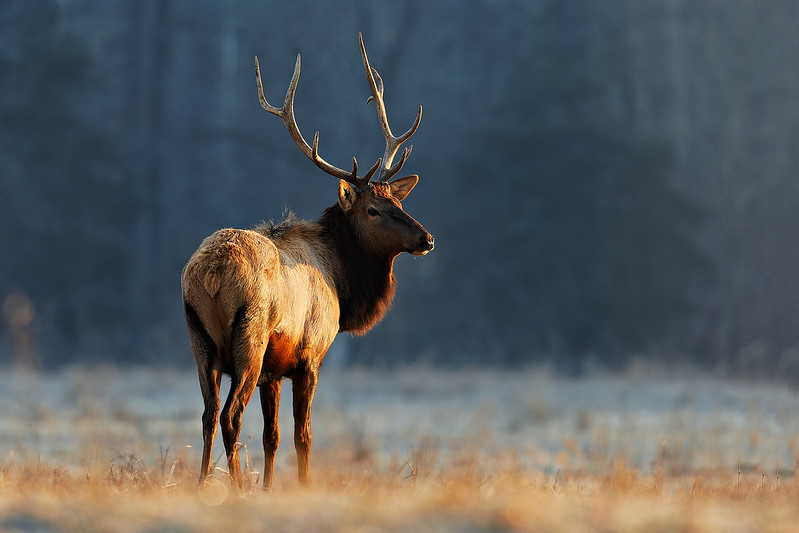
When I photographed a bull elk just after sunrise, I positioned myself so low-angle side light skimmed across the body and antlers. The shadowed treeline stayed well behind it. That separation kept the elk clean and readable as the light slowly built.
Focusing Techniques That Work When Light Is Scarce
Low light slows autofocus, so I help the camera whenever possible. I use single point autofocus and place it on a high contrast edge, usually the eye or a sharp line where fur or feathers change tone.
Continuous autofocus can still work for slow movement, but it struggles with fast action in dim conditions. In very low light, autofocus will hunt no matter what settings you use. Patience and timing matter as much as technique.
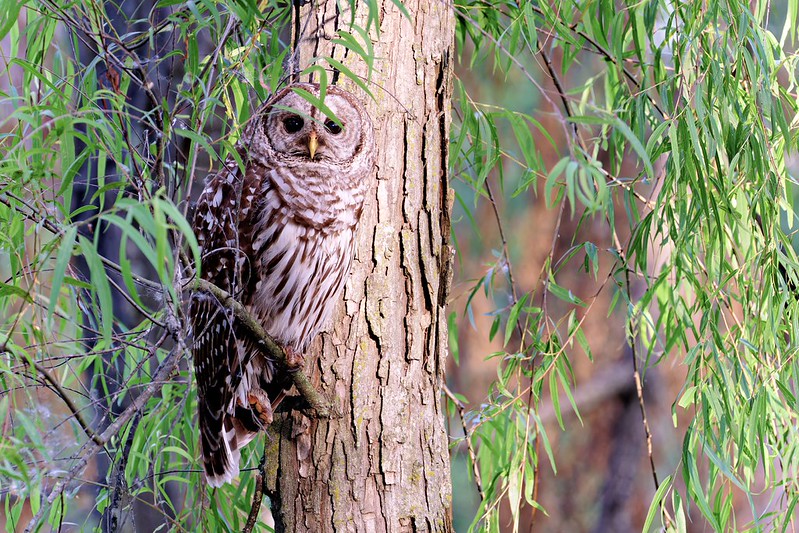
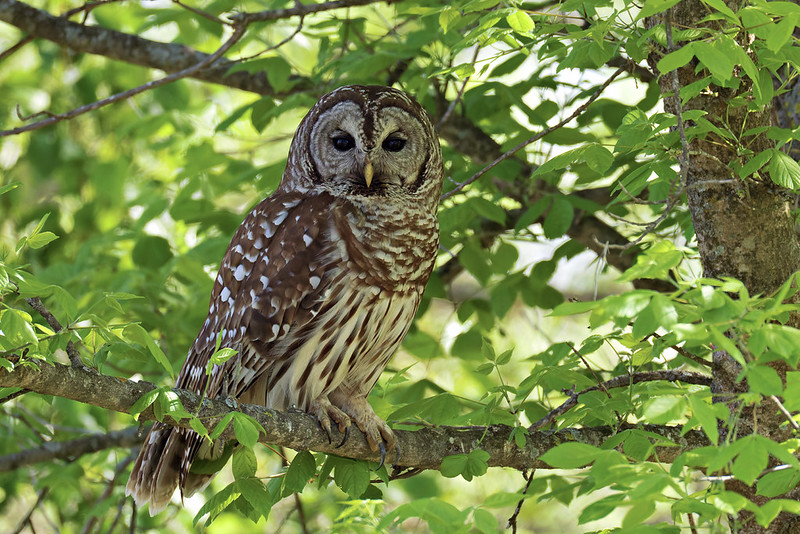
When I photograph barred owls at sunrise, I switch to a small single focus point and keep it on the eye. I also shoot short bursts. The first frame may miss, but the next two or three often lock in sharp focus despite the low light.
Low light wildlife photography is always a balance. I accept higher ISO, slower shutter speeds, and missed frames in exchange for moments most people never see. The goal is not perfection. The goal is a clean, sharp image that tells the story before the light is gone.
Very interesting and useful information.
Thank you very much for sharing it.