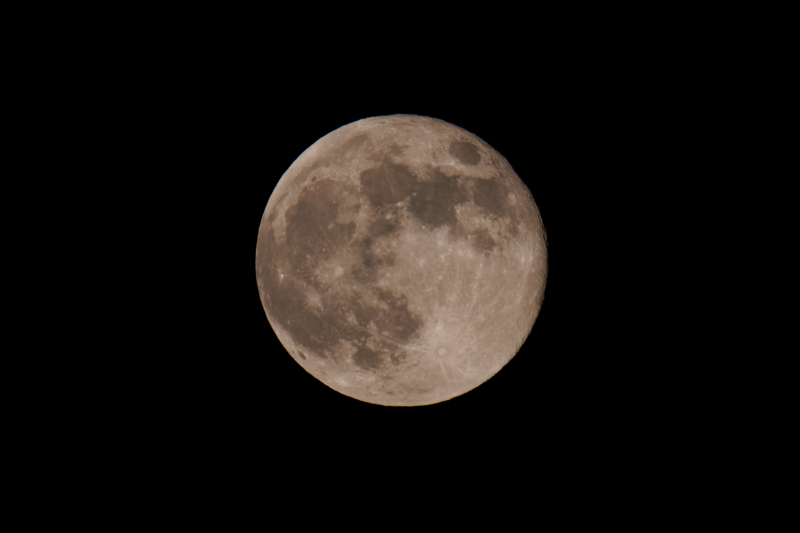
Photographing the moon is an exciting and rewarding challenge for photographers of all levels. Whether you’re capturing the brilliance of a full Hunter’s Moon or the subtle beauty of a waxing crescent, mastering the right techniques and settings is essential for achieving crisp, detailed images. In this guide, we’ll explore the best practices for moon photography, covering essential equipment, camera settings, shooting techniques, and post-processing tips.

Choosing the Right Equipment for Moon Photography
To capture sharp and detailed images of the moon, selecting the right gear is crucial:
- Camera: A DSLR or mirrorless camera with manual controls provides the best results.
- Lens: A telephoto lens (300mm or more) enables you to zoom in and capture intricate details of the lunar surface.
- Tripod: A sturdy tripod helps stabilize your camera and reduces motion blur.
- Remote Shutter Release: Using a remote or a timer minimizes vibrations and ensures sharper images.
Optimizing Camera Settings for the Best Lunar Shots
Using the right camera settings can significantly improve the clarity and sharpness of your moon photos:
- ISO: Set your ISO between 100 and 200 to minimize noise and retain image quality.
- Adjust Exposure: Fine-tune brightness levels to reveal details in shadows and prevent highlights from being overexposed.
- Aperture: Use f/8 to f/11 to achieve the sharpest possible focus.
- Shutter Speed: Start with 1/125s and adjust as needed to balance brightness and detail.
- Focus: Switch to manual focus to ensure maximum sharpness, as autofocus can struggle in low-light conditions.
Best Times and Conditions for Moon Photography
Capturing the moon at the right time and under the best conditions enhances your results:
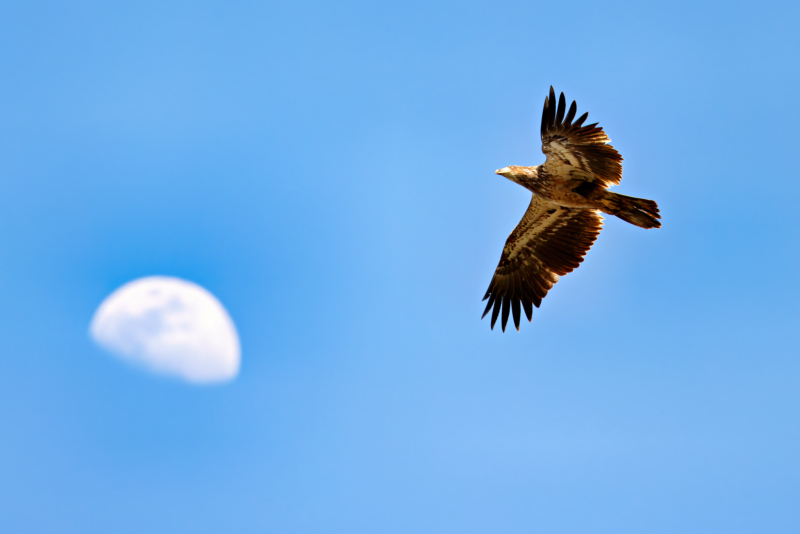
- Golden Hour & Blue Hour: Just after sunset or before sunrise provides balanced exposure and a beautiful atmospheric glow.
- Clear Skies: Avoid shooting on cloudy nights to ensure a crisp, unobstructed view of the moon.
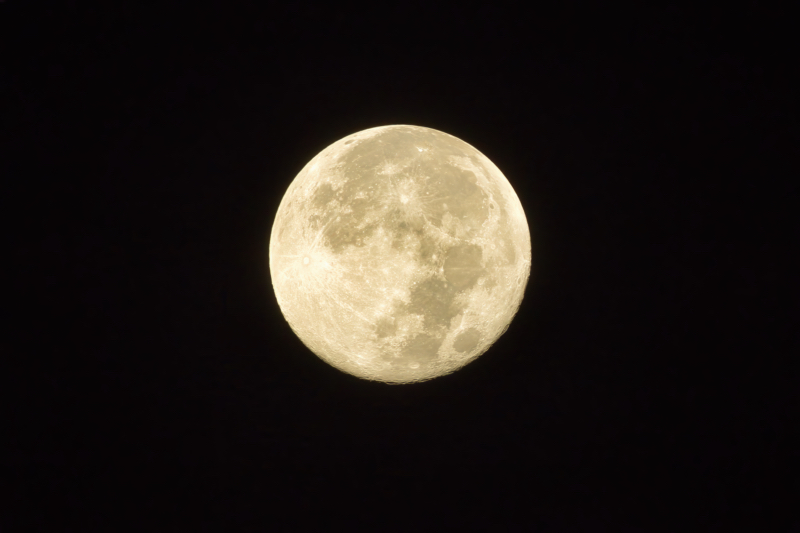
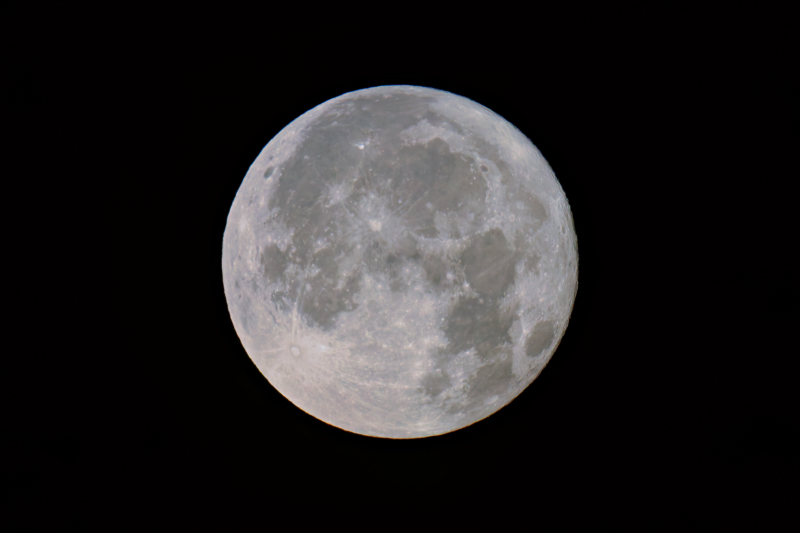
- Lunar Phases: Experiment with different moon phases to achieve varied compositions, from a full moon’s grandeur to the delicate crescent.
Techniques for Achieving Sharp and Detailed Moon Images
Using the right shooting techniques can make all the difference in your moon photography:
- Shoot in RAW: RAW files capture more detail and provide better flexibility during post-processing.
- Bracket Your Shots: Take multiple exposures at different settings to ensure optimal brightness and sharpness.
- Reduce Vibrations: Use a tripod and a remote shutter release or set a 2-second timer to minimize camera shake.
Enhancing Moon Photos Through Post-Processing
Post-processing allows you to refine your lunar images and bring out intricate details:
- Enhance Contrast & Sharpness: Improve the texture and definition of the moon’s craters for a more dramatic effect.
- Reduce Noise: Utilize noise reduction tools in software like Lightroom or Photoshop for a cleaner image.
- Fine-Tune White Balance: Adjust the color temperature to achieve a natural or artistic look.
Final Thoughts
Note: A spectacular total lunar eclipse will transform the moon into a deep red hue for millions across North America overnight on March 13-14. This rare celestial event, known as a Blood Moon, occurs when the Earth completely blocks direct sunlight from reaching the moon, scattering light in the atmosphere and giving the moon its striking red color. Photographers should prepare to capture this stunning phenomenon by using longer exposures and adjusting white balance to enhance the rich red tones.
Moon photography combines technical precision with artistic expression, making it one of the most rewarding genres of photography. By using the right equipment, settings, and post-processing techniques, you can capture breathtaking images of the moon, whether it’s a glowing full Hunter’s Moon or a delicate crescent in the night sky. With practice and patience, your lunar photography skills will reach new heights, allowing you to create stunning celestial images that showcase the moon’s beauty and mystery.
Tomorrow’s topic: “Seasonal Wildlife Photography.” Stay tuned!
Thank you!