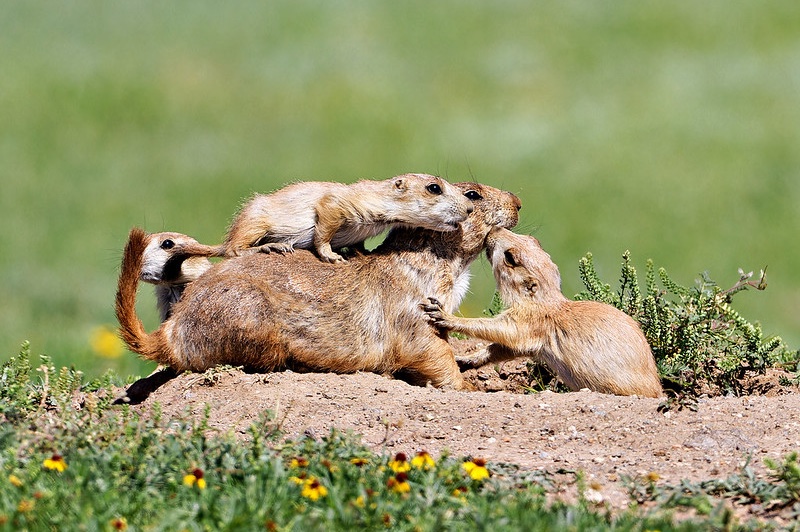
Most beginners shoot from a standing or kneeling height because it is comfortable. However, looking down on an animal creates a sense of detachment. It makes the subject feel small and insignificant. When you get down to their level, you enter their world. This perspective creates a shallow depth of field that blurs the foreground and background, which makes your subject the undisputed star of the frame.
The Secret to Better Backgrounds
One of the biggest struggles in the field is a “busy” background. Sticks, rocks, and grass can distract the viewer from the animal. When you practice eye level wildlife photography, you increase the distance between the subject and the background. This physical gap allows the lens to render the background as a smooth, creamy wash of color.
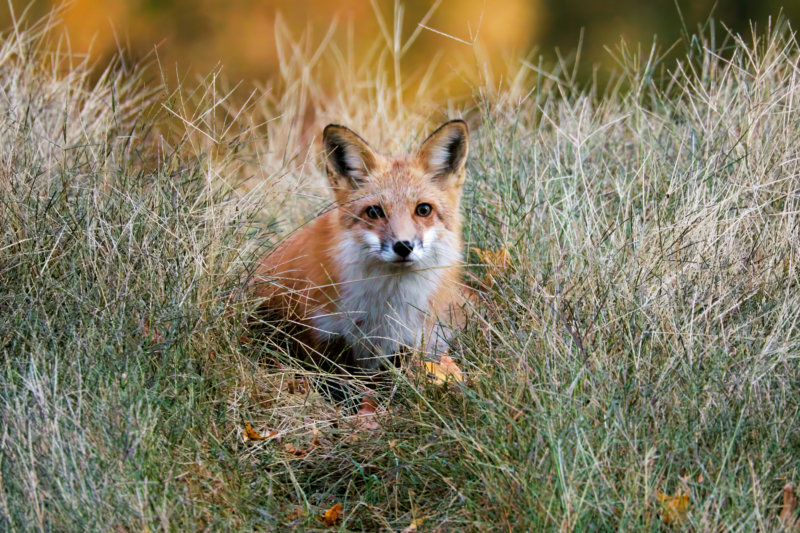
In addition, getting low changes how the foreground looks. If you are inches off the ground, the grass right in front of your lens becomes a soft, out-of-focus frame. This adds a sense of depth and three-dimensionality that you simply cannot get from a standing position. For example, a fox walking through a field looks much more heroic when the camera is level with its chest rather than looking down at its back.
When to Stay Up High
There are times when getting low is not the best move. If you are in tall brush, dropping down might mean you lose your line of sight completely. You also have to consider safety. I never get on the ground if I am photographing large predators like bears or bison. In those cases, I stay in my vehicle or maintain a safe, upright stance to ensure I can move quickly if needed.

Furthermore, some environments make it physically impossible. If you are shooting from a boardwalk over a swamp, you are stuck with the height of the railing. In these spots, try to find subjects that are perched higher up, such as on a branch or a sign. This allows you to maintain that level gaze without having to lie in the mud.

Practical Gear for Ground Work
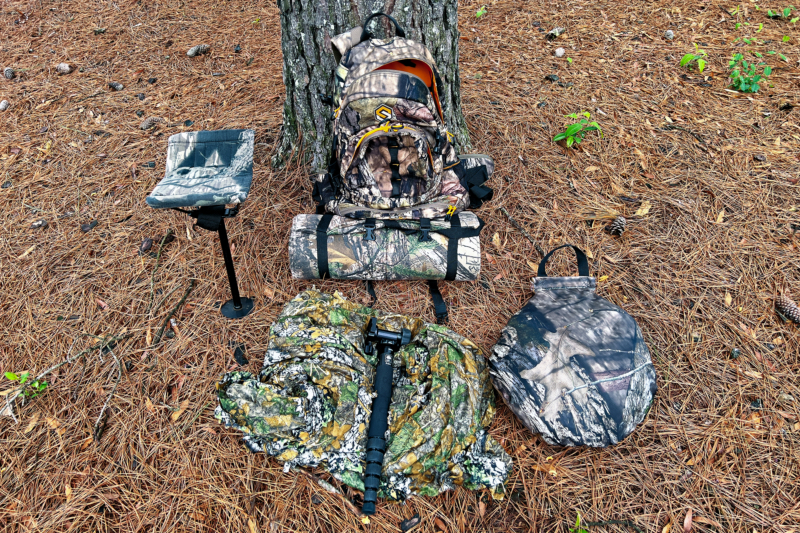
Lying in the dirt for an hour is hard on the body. I always carry a small foam pad or a waterproof groundsheet in my pack. This keeps me dry and comfortable, which helps me stay patient. I also use a “pancake” style ground pod instead of a tripod. It is essentially a flat plate that sits on the dirt, allowing my lens to stay stable just an inch above the grass.
