Backlighting is one of the most artistic and dramatic lighting techniques in wildlife photography. When used correctly, it can create breathtaking silhouettes, enhance textures, and add a sense of depth to your images. This guide will teach you how to master backlighting to elevate your wildlife photography skills.

Understanding Backlighting in Wildlife Photography
Backlighting occurs when the light source, typically the sun, is positioned behind your subject, creating a glowing halo or a dramatic silhouette. This technique is particularly effective during sunrise and sunset when the light is softer and golden, adding warmth and texture to your wildlife shots.
Best Times for Backlighting in Nature Photography
1. Golden Hour Backlighting (Early Morning & Late Afternoon)
- Produces warm, soft light that enhances textures and fine details.
- Ideal for capturing rim lighting and translucent effects.
2. Blue Hour Backlighting (Before Sunrise & After Sunset)
- Creates cooler, moody tones for striking silhouettes.
- Works well for atmospheric wildlife shots.
3. Midday Backlighting for Wildlife Photography
- Best when diffused by clouds or mist to avoid harsh shadows.
- Can create dramatic lighting effects with the right exposure settings.
Techniques for Stunning Backlighting in Wildlife Photography
1. Creating Silhouettes with Backlighting
- Expose for the bright background to darken the subject completely.
- Choose recognizable shapes, such as birds in flight or animals on ridges.
- Opt for clean backgrounds like open skies or water for the best contrast.
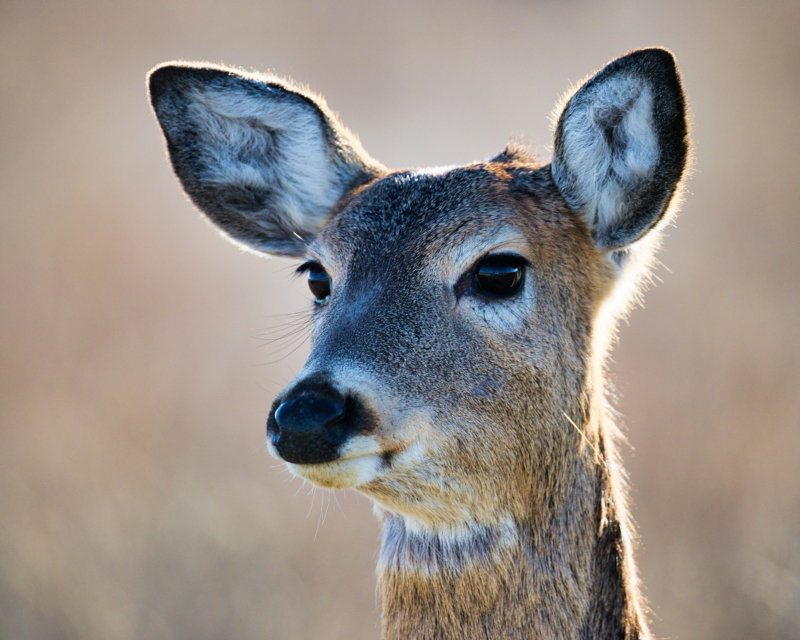
2. Enhancing Rim Light in Wildlife Photos
- Position the subject against a darker background to emphasize the glowing edge.
- Slightly underexpose the shot to enhance the illuminated outlines.
- Increase contrast during post-processing to make the light pop.
3. Highlighting Translucent Details with Backlighting
- Capture birds with light shining through their wings for a stunning effect.
- Photograph mammals on cold mornings to highlight their breath in the crisp air.
- Use a fast shutter speed (1/1000s or more) to freeze illuminated details.
Exposure Tips for Effective Backlighting in Wildlife Photography
- Use exposure compensation (-1 to -2 stops) to prevent overexposure.
- Shoot in RAW to recover shadows and highlights during editing.
- Experiment with spot metering to correctly expose for the backlit subject.
Post-Processing Enhancements for Backlit Wildlife Shots
- Increase shadows and blacks to deepen silhouettes.
- Boost contrast and clarity to emphasize rim lighting.
- Adjust white balance to maintain the golden-hour warmth.
Final Thoughts
Mastering backlighting in wildlife photography allows you to create stunning, visually compelling images. Whether you’re capturing glowing edges, highlighting intricate details, or crafting bold silhouettes, this technique adds mood, depth, and an artistic flair to your wildlife photography.
Stay tuned for tomorrow’s post: “Minimalist Wildlife Photography: Create Stunning Images with Less.“