Color is a big part of wildlife photography. It helps set the mood, grabs attention, and makes photos more exciting. Learning how to use color well can make your wildlife pictures stand out. In this guide, we’ll go over different ways to use color to improve your wildlife shots.
1.How Color Affects Wildlife Photography
Colors can make people feel different emotions:
- Warm colors (reds, oranges, yellows): Feel exciting and full of energy. These colors show up often at sunrise and sunset, making wildlife photos look dramatic.
- Cool colors (blues, greens, purples): Feel calm and peaceful. They work great for misty mornings, forests, and water scenes.
- Neutral colors (browns, grays, earth tones): Help animals blend into their surroundings, making photos feel natural and real.
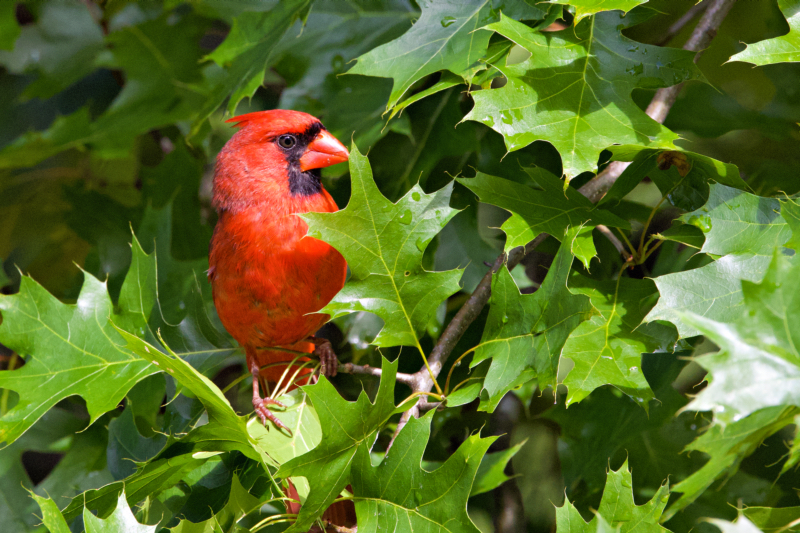
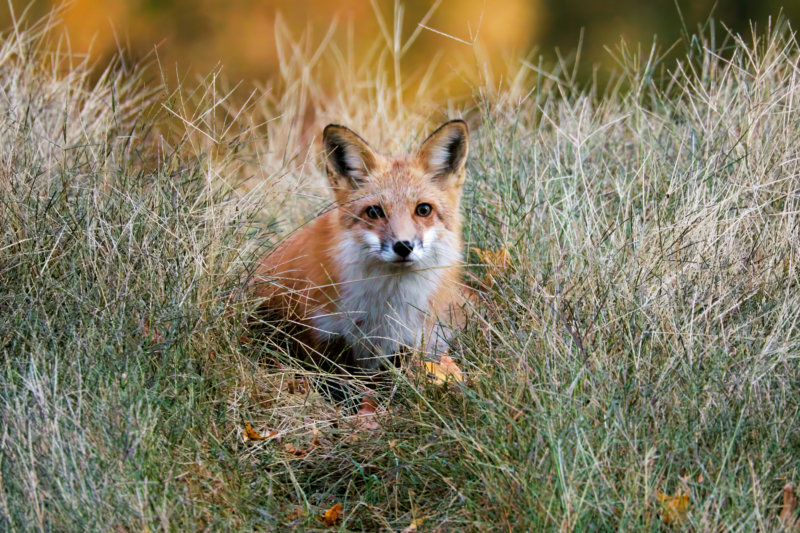
2. Using Opposite Colors to Make Wildlife Pop
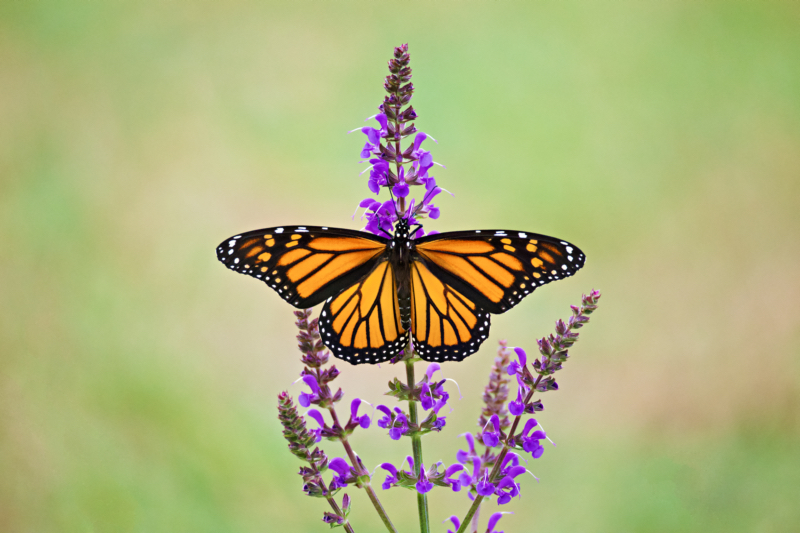
Some colors look extra bold when placed next to their opposites. These are called complementary colors, and they help make wildlife stand out:
- Blue and orange: A bird flying against a glowing sunset.
- Green and red: A bright red animal like a fox standing out in green grass.
- Yellow and purple: An animal bathed in golden light with a cool-toned background.
Using these color pairs makes your subject pop and adds excitement to the photo.
3. Keeping It Simple: Monochrome and Minimalist Colors
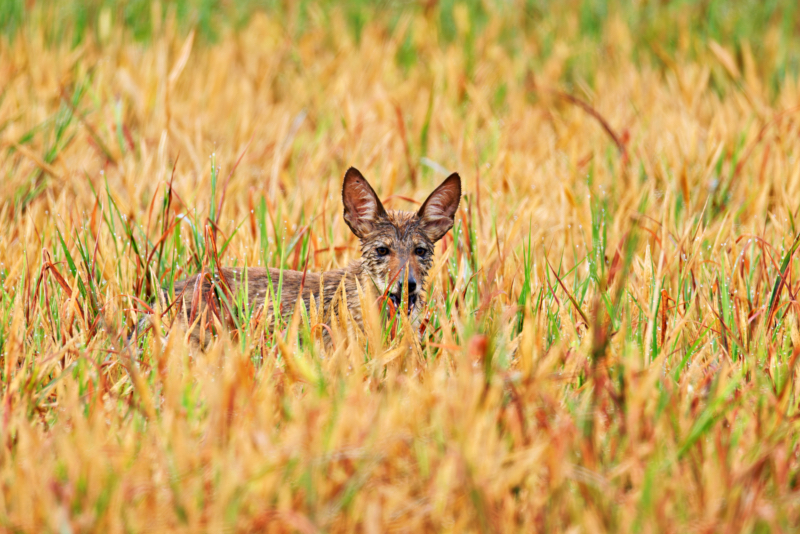
Sometimes, sticking to one color or a simple color scheme makes for a stunning photo. Here are some examples:
- Frosty landscapes: A white-tailed deer in a frost-covered field, blending in with soft whites and grays.
- Desert scenes: Warm, golden tones give a feeling of heat and isolation.
- Rainforest settings: Rich greens surround an animal, helping it feel part of its habitat.
This technique keeps the focus on the subject while creating a beautiful, natural look.
4. Using Color to Guide the Eye
Color can lead the viewer’s eyes right where you want them to look:
- Place a bright-colored animal against a soft or muted background to make it stand out.
- Use strong color contrast to highlight details like eyes, beaks, or unique patterns.
- Avoid too many different colors in one photo, keeping it simple often makes a stronger image.
5. The Magic of Golden Hour Colors
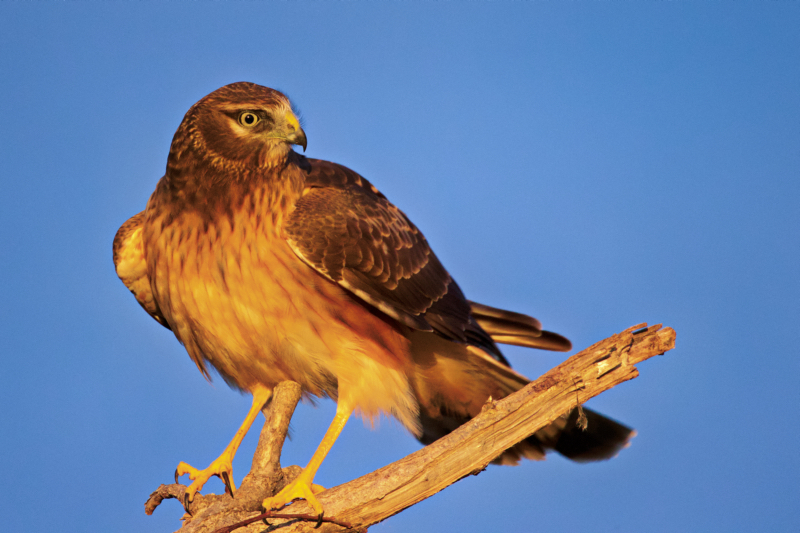
The golden hour, just after sunrise and before sunset, makes colors look warmer and richer. This time of day is perfect for wildlife photography because:
- The light is soft, making shadows less harsh.
- Colors look more vibrant and natural.
- It adds warmth and depth, making animals look even more stunning.
6. Enhancing Color Through Post-Processing
Even after taking a photo, you can adjust colors to make them look their best:
- Fix white balance to make colors look more natural.
- Boost or soften colors to match the mood you want.
- Try black and white if color isn’t adding to the scene, this highlights textures and details instead.
Final Thoughts
Color is a powerful tool in wildlife photography. By using the right colors, you can create photos that grab attention and tell a story. Try using complementary colors for contrast, simple color schemes for a natural feel, and golden hour lighting for warmth. Editing can also help fine-tune colors to bring out the best in your shots. With these techniques, you’ll make wildlife photos that leave a lasting impression!
Tomorrow’s topic: “Photographing Wildlife in Extreme Weather Conditions.“ Stay tuned!