Golden hour wildlife photography combines perfect lighting conditions with animal behavior, creating opportunities for truly spectacular images. This magical time, occurring shortly after sunrise and before sunset, bathes your subjects in warm, directional light that can transform an ordinary wildlife encounter into an extraordinary photographic moment.
What Makes Golden Hour Special for Wildlife Photography
Golden hour offers several unique advantages that can elevate your wildlife photography:
- Warm, directional lighting creates depth and dimension
- Soft, diffused light reduces harsh shadows and highlights
- Rim lighting opportunities for dramatic silhouettes and backlighting
- Increased animal activity as many species are more active during dawn and dusk
- Less crowded locations as many photographers don’t commit to these early/late hours
Essential Equipment for Golden Hour Wildlife Photography
Camera Settings
For optimal golden hour wildlife shots, start with these settings:
- Aperture: f/5.6 to f/8 for adequate depth of field
- ISO: 400 – 800 to maintain faster shutter speeds in lower light
- Shutter Speed: Minimum 1/focal length (or faster) to prevent blur
- White Balance: Auto or Cloudy/Shade to enhance warm tones
Recommended Gear
- A telephoto lens (200mm or longer)
- Sturdy tripod with fluid head for smooth panning
- Lens hood to prevent flare from low-angle sunlight
- Extra batteries (cold mornings drain power faster)
Planning Your Golden Hour Wildlife Shoot
Successful golden hour wildlife photography requires careful preparation:
- Research animal behavior in your target location
- Scout locations in advance during midday to identify compositions
- Arrive at least 30-45 minutes before golden hour begins
- Check weather forecasts for cloud cover and conditions
Advanced Techniques for Golden Hour Wildlife Shots
Backlighting and Silhouettes
Position yourself with the sun behind your subject to create dramatic rim lighting or full silhouettes. Look for distinctive shapes and clean backgrounds that make the animal’s form immediately recognizable.
Capturing Action in Lower Light
Golden hour’s reduced light means adapting your technique:
- Consider raising your ISO rather than dropping shutter speed
- Use burst mode to capture peak action moments
- Track your subject before they enter the golden light
- Pre-focus on areas where animals are likely to appear
Composition Strategies
- Use the golden light to create leading lines toward your subject
- Include environmental elements that tell a story about the habitat
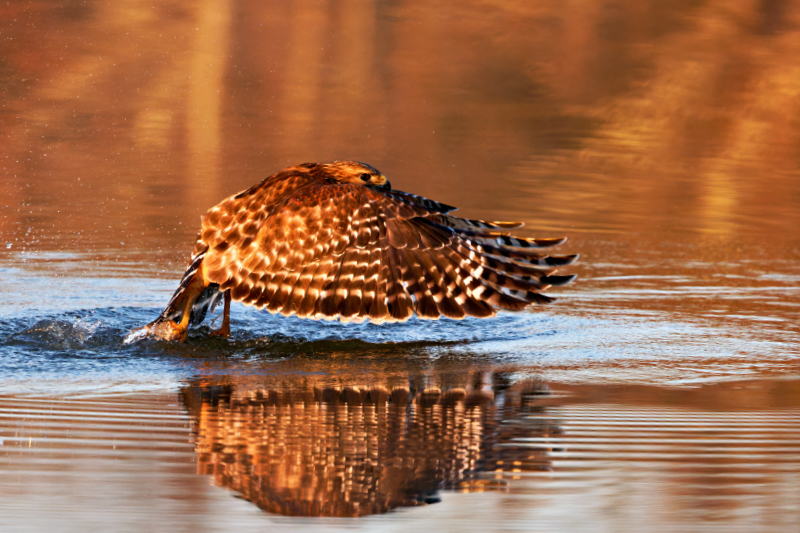
- Watch for opportunities to capture reflections in water
- Frame animals against complementary golden/blue sky gradients
Post-Processing Tips for Golden Hour Wildlife Images
Enhance your golden hour wildlife photos with these editing approaches:
- Slightly boost warmth to enhance golden tones
- Use graduated adjustments for balanced exposures
- Selectively sharpen your subject while maintaining soft light qualities
- Consider using radial filters to enhance the directional quality of light
Conclusion
Golden hour wildlife photography combines technical skill, patience, and planning. The effort required to be in position during these fleeting moments is substantial, but the resulting images offer a magical quality that cannot be replicated at any other time of day. Start implementing these techniques during your next wildlife outing to capture images with depth, mood, and emotional impact.
Next topic: Capture Stunning Wildlife Photos in Stormy Weather